
Granny Square Blanket: How to Plan It and How to Join Granny Squares
Plan a granny square blanket from one sample square, then join the squares with whipstitch, slip stitch, single crochet or join as you go. Step-by-step instructions for each.
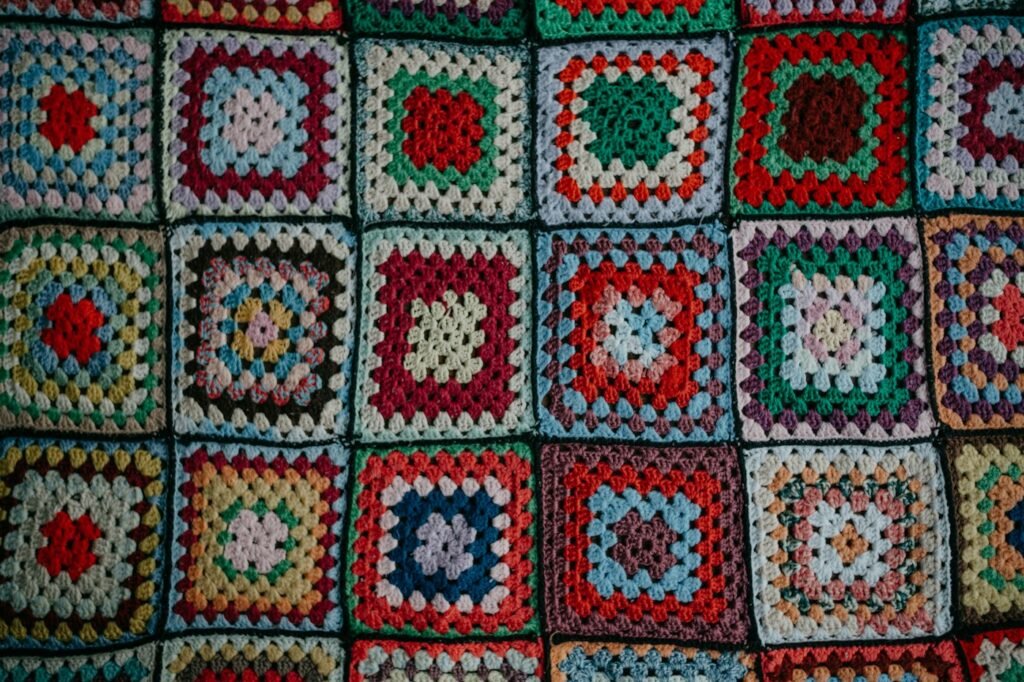
Illustrative crochet photograph by Annie Spratt via Unsplash. This is not a photograph of a Yarvella-tested sample.
A granny square blanket is easier to finish when its decisions are made early. A little planning prevents a pile of mismatched squares, a border that feels too wide or a favorite color running out halfway through. Begin with one square and a ruler.
Decide how the blanket will be used
A sofa throw, a lap blanket and a bed cover need different dimensions. Measure the space or an existing blanket you like. Write down your target width and length before choosing a square count.
For a decorative sofa throw, you might explore a target around 100 × 140 cm. Treat this as an example to plan around, not a promised measurement from a particular yarn.
Choose a restrained palette
Start with one main color, one supporting color and a small accent. Cream, sage and terracotta give a gentle cottage feel. Alternatively, use a darker joining color to frame bright centers. Make a few sample combinations before buying yarn for the entire blanket.
Use compatible yarn weights and care instructions across colors. A beautiful square is not much help if one color shrinks differently from the others after washing.
Wash and measure a sample
Make a square using your chosen yarn, hook and number of rounds. Weave in its ends, then wash and dry it according to the label. Measure the relaxed square after drying. If you will block every square, measure after that same process.
Joining methods and borders add to the dimensions. Make and join two sample squares if you want a more reliable estimate of the space taken by seams.
Work out a simple layout
If a finished square measures 14 cm, seven squares across and nine down make a central grid approximately 98 × 126 cm before seam and border adjustments. A border adding roughly 7 cm on each outer side would bring that example near 112 × 140 cm.
Draw a small grid on paper and place your color combinations into it. Repeat a clear sequence rather than relying on memory. Photograph the final layout before joining, especially if every square is different.
Estimate yarn from your own sample
Weigh a completed sample square. Multiply that amount by your planned number of squares, then allow separately for joining, the border and a spare margin. Multicolor squares are easier to estimate when you also weigh the yarn used per color. Record your actual use rather than borrowing a yardage number from an unrelated blanket.
What is the best stitch to join granny squares together?
There is no single best join. A whipstitch seam is useful when you prefer sewing; a slip-stitch join gives a compact crocheted seam; a single-crochet join creates a visible ridge that can become part of the design. Choose by appearance, flexibility and the loops your pattern tells you to use. Try the seam on two squares before assembling the blanket.
How to join granny squares: four methods, step by step
All four methods start the same way: block the squares to the same size, lay them out in your planned order and line up the corners of the two edges you are joining. Mark the corners with stitch markers so nothing shifts as you work.
1. Whipstitch (sewn, flat and almost invisible)
- Place two squares right sides together, edges and corners aligned.
- Thread a blunt yarn needle with a length of yarn, or with a long tail left from one square.
- Starting at a corner, pass the needle through the back loops of both matching edge stitches, always in the same direction.
- Pull the yarn snug but not tight, then move to the next pair of stitches. Continue to the far corner and weave in the ends.
Working through back loops only leaves the front loops showing as a neat line on the right side.
2. Slip stitch join (crocheted, compact)
- Hold two squares together, right sides facing each other.
- Insert the hook through the matching corner spaces of both squares, yarn over and pull up a loop.
- Insert the hook through the next matching pair of stitches on both squares, yarn over and pull through both squares and the loop on the hook.
- Repeat along the edge. Keep the loop relaxed: a tight slip stitch seam pulls the squares in.
3. Single crochet join (a raised ridge on purpose)
- Hold two squares wrong sides together so the seam ends up on the front.
- Join yarn in the matching corner spaces and work one single crochet through both squares in each matching pair of stitches.
- Work into the corner spaces at the far end and continue onto the next pair of squares if you are joining a whole row.
A contrasting color makes this ridge a design feature. Use the same color for a quieter frame.
4. Join as you go (no seams at the end)
- Finish your first square completely.
- Work the next square up to its final round. On that round, work along one side as normal until you reach a corner.
- Where the pattern says chain two at the corner, chain one, slip stitch into the matching corner space of the finished square, then chain one.
- Along the side, replace each chain one between groups with a slip stitch into the matching space of the finished square. Continue the round as normal once the shared side is done.
Join as you go saves seaming time, but it is harder to undo, so try it on two practice squares first.
Block compatible squares to the same size before joining, line up their corners and mark matching points. Work without tightening the seam more than the square edges. A join cannot reliably hide a large difference in square size. After joining, use our blanket edging guide to finish the perimeter.
Join and finish in manageable stages
Weave in ends as you go. Keep completed squares in labeled groups, and count them weekly. Before joining the whole blanket, test your preferred seam on two squares and check that it lies comfortably without pulling the fabric.
For the square itself, use our classic granny square lesson. Make a few consistent samples first; a blanket should grow from a repeatable square, not from a guess.
Keep making
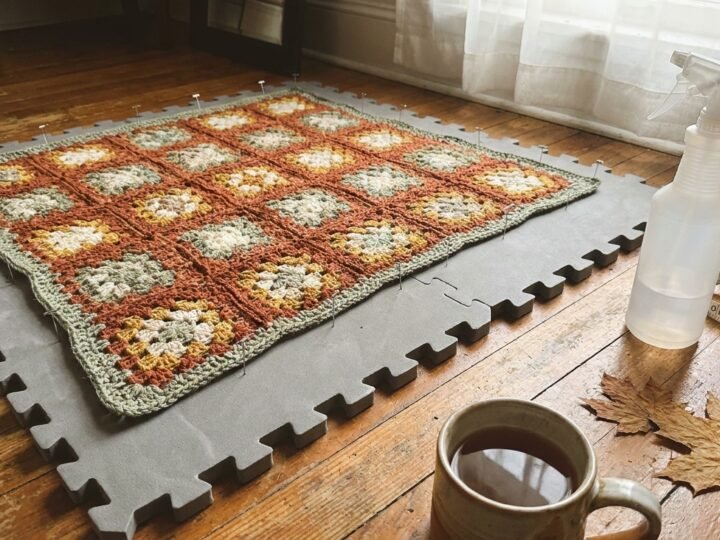
How to Block Crochet: Wet, Spray & Steam Blocking for Any Yarn
Learn how to block crochet the right way for wool, cotton and acrylic: step-by-step wet, spray and steam blocking, tools, drying times and…
Read the guide
Knitting vs Crochet: Which Is Easier, Faster and Better for You?
Knitting vs crochet compared: which is easier to learn, faster, uses less yarn, and suits blankets, sweaters and gifts, plus a 20-minute crochet…
Read the guide