
How to Make a Granny Square: Easy Step-by-Step Rounds for Beginners
How to make a classic granny square, one round at a time: the center ring, corner groups and a stitch count to check after every round. US terms, beginner friendly.
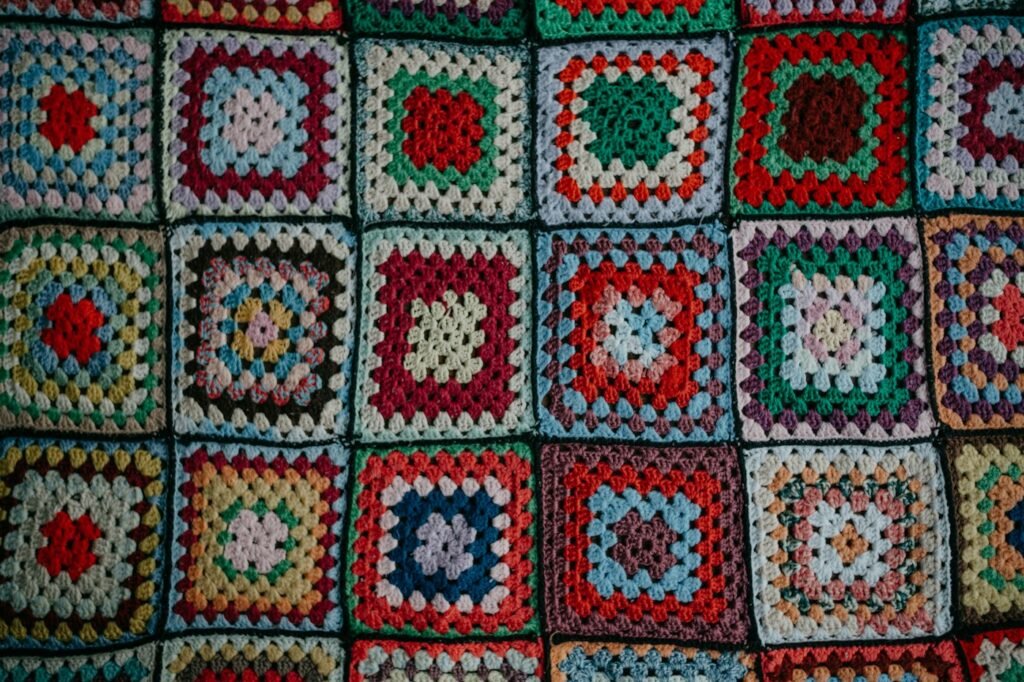
Illustrative crochet photograph by Annie Spratt via Unsplash. This is not a photograph of a Yarvella-tested sample.
A traditional granny square grows from the center outward. Groups of three double crochets form its familiar open texture, and four corner spaces keep the shape square. Work a small sample first, then decide whether to turn it into a coaster, a larger square or part of a blanket.
Materials and abbreviations
Use smooth yarn, a matching hook, scissors and a blunt needle. Gauge is not essential for this learning sample; measure your finished square if you plan to combine several.
- ch: chain
- dc: double crochet
- sl st: slip stitch
To make a US double crochet: yarn over, insert the hook, yarn over and pull up a loop. Yarn over and pull through two loops; yarn over and pull through the final two.
Make the center ring
Chain four and join to the first chain with a slip stitch. Work the first round into the center of this ring, not into its individual chains.
Round 1
Chain three, work two dc into the ring, then chain two. Work (three dc, chain two) into the ring three more times. Join with a slip stitch to the top of the starting chain three.
Check: four groups of three dc, including the starting chain as one dc; 12 dc total and four chain-two corner spaces.
Round 2
Slip stitch across the next two dc and into the first corner space. Chain three, then work two dc, chain two and three dc into that same corner. Chain one.
In each of the next three corner spaces, work (three dc, chain two, three dc), then chain one. Join to the top of the starting chain three.
Check: eight groups, 24 dc total, four corner spaces and four chain-one side spaces.
Round 3
Slip stitch across the next two dc and into the first corner space. Chain three, then work two dc, chain two and three dc into that corner. Chain one.
Work three dc into the next chain-one side space, then chain one. In the next corner, work (three dc, chain two, three dc), then chain one. Continue around, making one group in every side space and two groups in every corner, with chain one between adjacent groups. After the final side group, chain one and join to the top of the starting chain three.
Check: 12 groups and 36 dc total, with four corners.
Which granny square is the easiest?
A classic granny square is a practical first choice because it repeats three-double-crochet groups and four corners. It is usually simpler to track than a flower motif with several stitch types. Learn chains, double crochet and slip stitch first, then count the groups after each round. The easiest square for you is one whose spaces and corners you can identify consistently.
Grow and finish your square
For additional rounds, keep the same rule: one three-dc group in each chain-one side space and (three dc, chain two, three dc) in each corner. Fasten off and weave in the tails. If needed, gently block according to the yarn care instructions.
If the square becomes round, check for missing corners. If it ruffles, check for extra groups or overly loose chains. Count after every round before continuing.
Planning a larger make? Read our granny square blanket planning guide before making a stack of squares.
Keep making
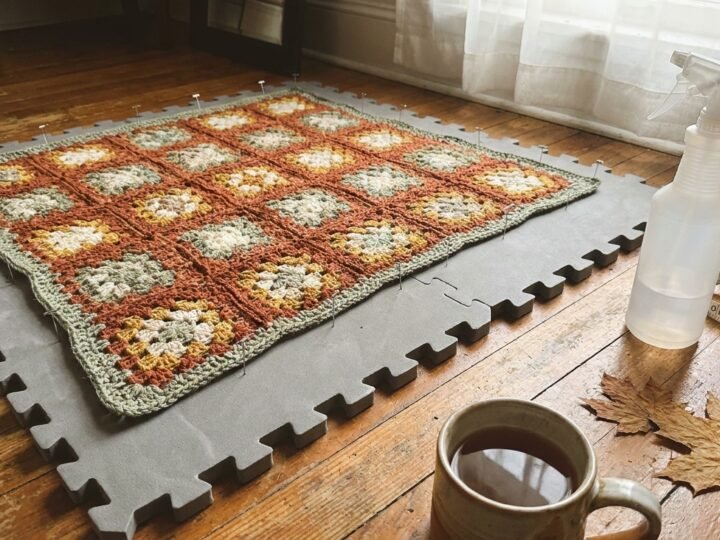
How to Block Crochet: Wet, Spray & Steam Blocking for Any Yarn
Learn how to block crochet the right way for wool, cotton and acrylic: step-by-step wet, spray and steam blocking, tools, drying times and…
Read the guide
Knitting vs Crochet: Which Is Easier, Faster and Better for You?
Knitting vs crochet compared: which is easier to learn, faster, uses less yarn, and suits blankets, sweaters and gifts, plus a 20-minute crochet…
Read the guide