
How to Crochet a Pumpkin: Easy Free Pattern for Beginners
Learn how to crochet a pumpkin the easy way: a flat ribbed rectangle you roll, stuff and shape. Free beginner pattern in 3 sizes, plus stem, leaf and FAQ.
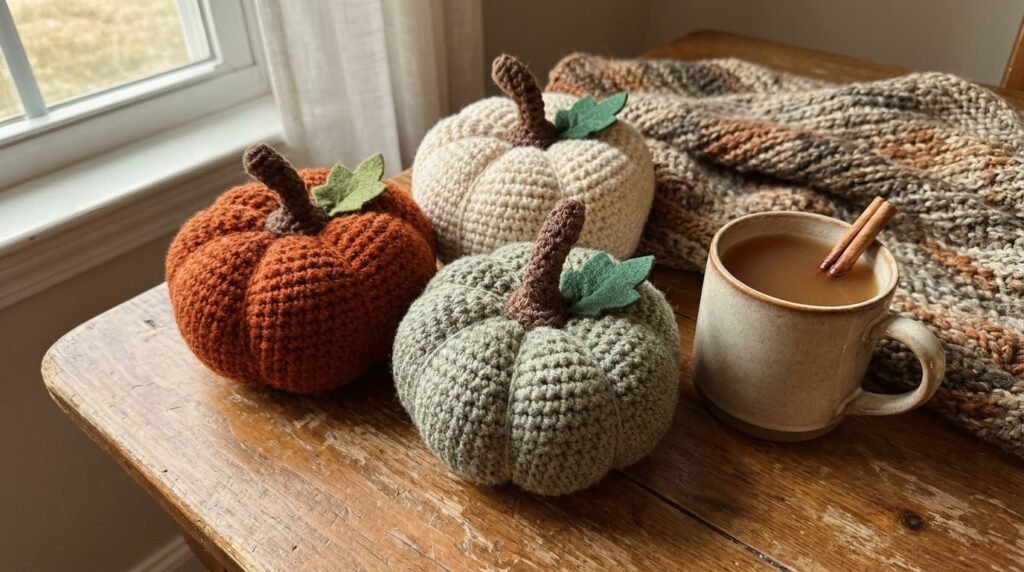
Every fall, the same thing happens: you see a little basket of squishy crochet pumpkins on someone’s table and think, I could make that. Good news — you absolutely can, even if you’ve only learned a single stitch. The easiest crochet pumpkin isn’t worked in the round at all. It starts as a flat ribbed rectangle that you roll, gather, stuff and cinch into those classic pumpkin segments.
This guide walks you through the whole thing: a free beginner pattern in three sizes, a stem and leaf, an in-the-round version for when you’re ready, plus the yarn choices and little fixes that make the difference between “lumpy orange ball” and “where did you buy that?” Just in time for Thanksgiving tables and holiday gifts.
Quick answer: how do you crochet a pumpkin?
Crochet a rectangle in single crochet through the back loops only (this makes the ribbed “pumpkin lines”). Sew the short ends together to make a tube, weave yarn through the stitches along one edge and pull it closed, stuff with fiberfill, then close the other end the same way. Wrap yarn from the top center to the bottom center 5–6 times to create the segments, and finish with a rolled stem and a small leaf. A medium pumpkin in worsted weight yarn takes about an hour.
Table of contents
- Pattern at a glance
- What you need to crochet a pumpkin
- What is the best yarn for crochet pumpkins?
- Free easy crochet pumpkin pattern (step by step)
- How to make mini, medium and large pumpkins
- How to crochet a pumpkin stem and leaf
- How to crochet a pumpkin in the round
- Common mistakes and how to fix them
- Ways to style and gift your pumpkins
- Crochet pumpkin FAQ
Pattern at a glance
- Skill level: Beginner (you only need to chain, single crochet and slip stitch)
- Finished size (medium): about 4 inches wide and 3 inches tall after shaping
- Yarn: worsted weight (#4), about 30–40 yards for a medium pumpkin plus a few yards for the stem and leaf
- Hook: 5.0 mm (H-8)
- Time: roughly 20–30 minutes for a mini, 45–75 minutes for a medium
- Terms: US crochet terms
If any abbreviation below looks unfamiliar, keep our crochet abbreviations cheat sheet open in another tab.
What you need to crochet a pumpkin
- Main yarn: worsted weight acrylic or cotton in orange, cream, sage, dusty pink, mustard — pumpkins look great in “wrong” colors too.
- Stem yarn: a few yards of brown, tan or olive.
- Leaf yarn (optional): a couple of yards of green.
- Crochet hook: 5.0 mm (H-8) for worsted weight. Go down to 4.5 mm if your stitches look loose and stuffing peeks through.
- Polyester fiberfill: a small handful per pumpkin. Scrap yarn works in a pinch.
- Yarn (tapestry) needle with an eye big enough for your yarn.
- Scissors.
- Optional: stitch marker, a hot glue gun for stems, and a twig or cinnamon stick if you want a natural stem.
What is the best yarn for crochet pumpkins?
For your first pumpkin, a smooth, light-colored worsted weight acrylic is the easiest choice. It’s cheap, it comes in every fall shade, it holds its shape after stuffing, and you can clearly see each stitch — which matters a lot when you’re working into back loops.
Once you have the method down, other yarns open up different looks:
- Cotton: crisp ribs and a farmhouse look. Less forgiving on tension, but beautiful in cream and sage.
- Chunky or super bulky yarn (#5–#6): faster and makes big, squishy porch-style pumpkins. Use a 6.5–9 mm hook.
- Velvet or chenille “blanket” yarn: the trendy plush pumpkin look. It’s soft and luxurious, but stitches are hard to see and count, so it’s better as your second or third pumpkin than your first.
- Yarn scraps: pumpkins are perfect stash-busters. Striping two leftover colors gives a fun patchwork effect.
Not sure which hook goes with which yarn label? The general rule: use the hook size printed on the yarn band, then go down half a size for stuffed projects so the fabric is a little tighter.
Free easy crochet pumpkin pattern (step by step)
This is the medium size in worsted weight yarn. Sizes for mini and large are right after the pattern. If you’ve never made a stitch before, start with our step-by-step first crochet lesson and the single crochet guide — those two skills are all this pumpkin needs.
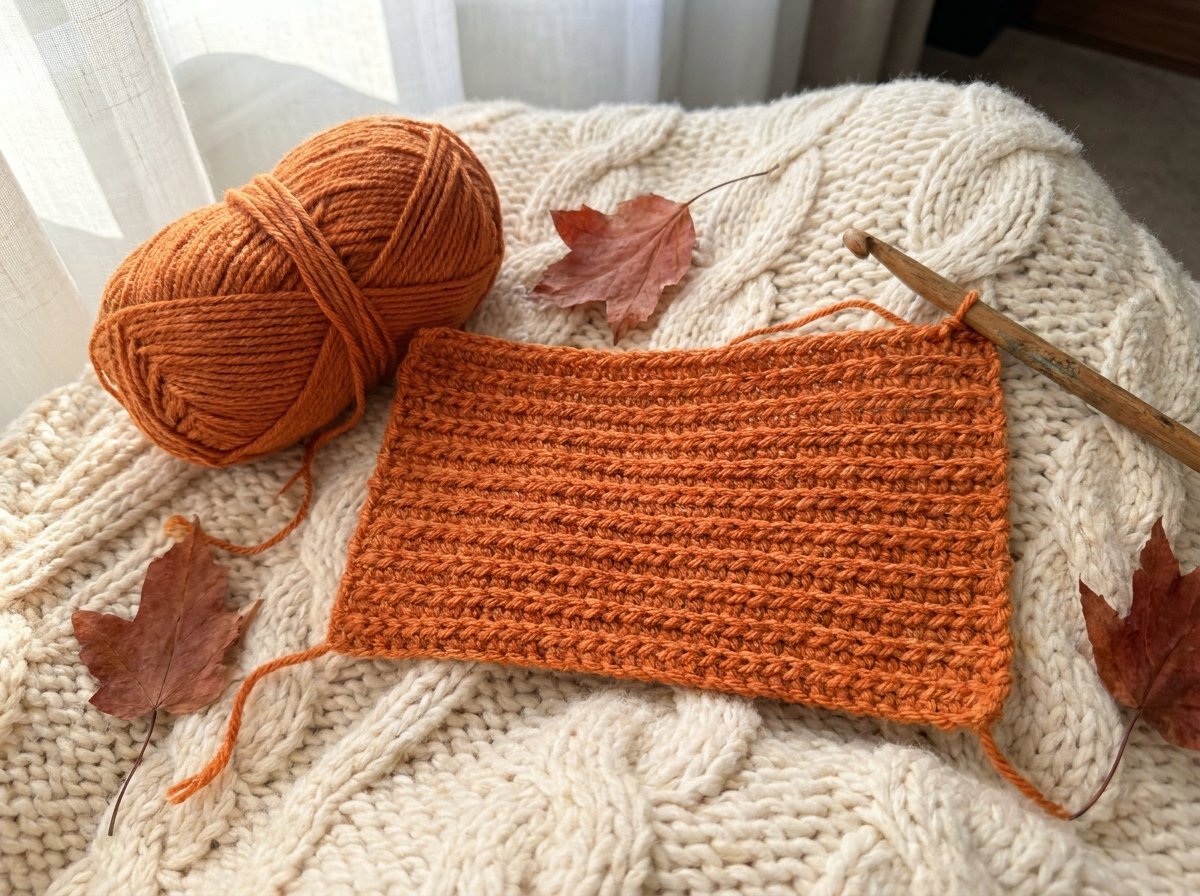
Step 1: Make the foundation chain
With orange yarn, chain 21. The number of chains controls how tall your pumpkin will be, so leave a 6-inch tail at the start — you’ll use it later to close one end.
Step 2: Row 1
Single crochet (sc) in the 2nd chain from the hook and in each chain across. You should have 20 sc. Chain 1 and turn.
Step 3: Ribbed rows
Row 2 and every row after: sc in the back loop only (BLO) of each stitch across (20 sc). Chain 1 and turn.
The back loop is the one farthest away from you as you look at the top of your work. Working only into that loop leaves the front loop as a little ridge, and those ridges become the vertical lines of your pumpkin.
Step 4: Keep going until the length is right
Repeat the ribbed row until your rectangle measures about 10 inches long (roughly twice its width). For most people that’s somewhere around 35–45 rows, but measure rather than count — everyone’s tension is different. Lay it flat and check: a rectangle about twice as long as it is wide makes a nice squat, round pumpkin.
Don’t fasten off yet. Cut the yarn, leaving a long tail of about 20 inches, and pull it through the last loop.
Step 5: Seam it into a tube
Fold the rectangle so the first row meets the last row. Thread the long tail onto your needle and whipstitch the two short edges together through the loops of both rows. Keep the ridges on the outside. You now have an open tube with ribs running from top to bottom. Don’t cut the remaining tail.
Step 6: Gather the bottom
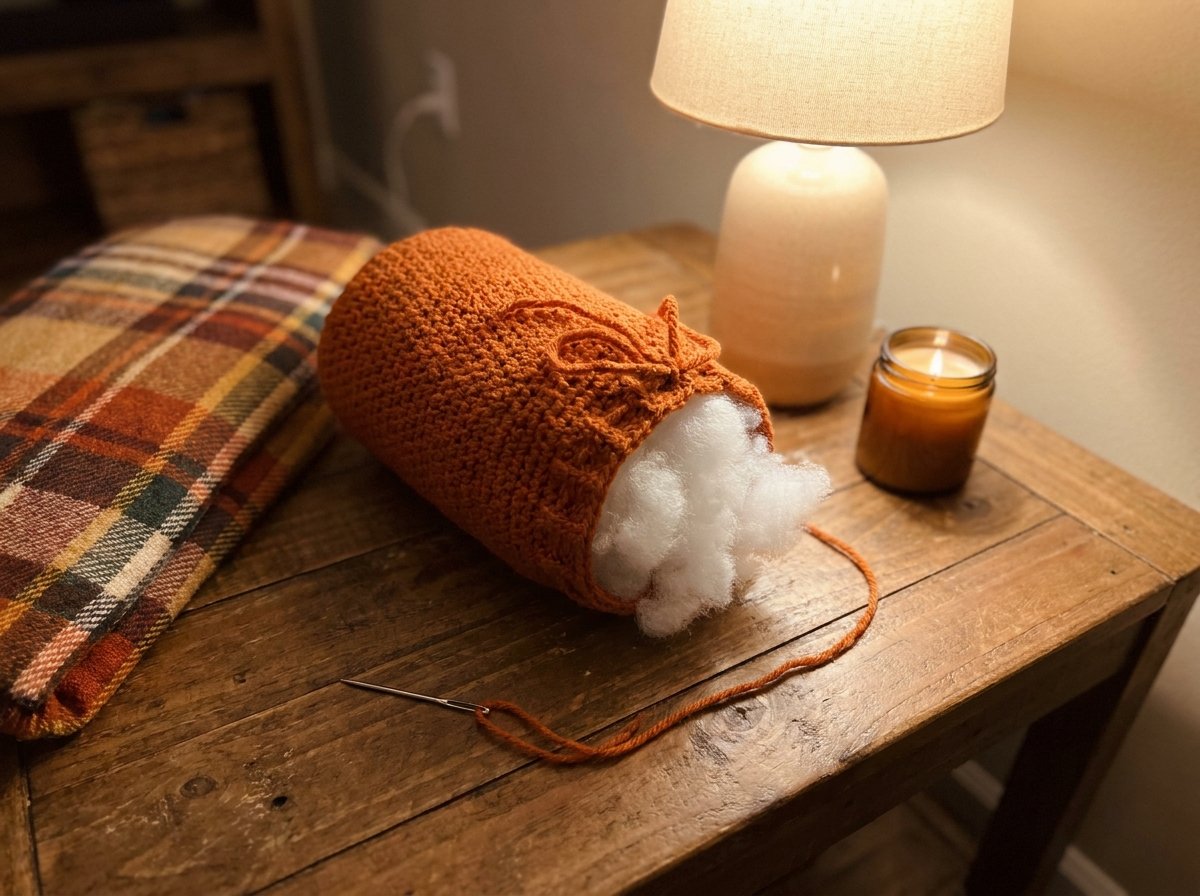
With the needle still on the long tail, weave in and out along one open edge of the tube, going through the end of every row (a running stitch). When you get all the way around, pull firmly. The edge will cinch closed like a drawstring bag. Make a couple of small stitches across the center to lock it, and push the needle through to the inside.
Step 7: Stuff the pumpkin
Turn the tube so the closed end is at the bottom and fill it with fiberfill. Add a little at a time and pull it apart into fluffy pieces first — clumps make lumps. Aim for “full and squishy,” not rock hard. Over-stuffing stretches the stitches and hides the ribs.
Step 8: Close the top
Use the starting tail (or a new piece of yarn) to run a stitch around the other open edge the same way, pull it tight, and secure it with a few stitches across the center. Leave the tail hanging — you’ll use it to shape the segments.
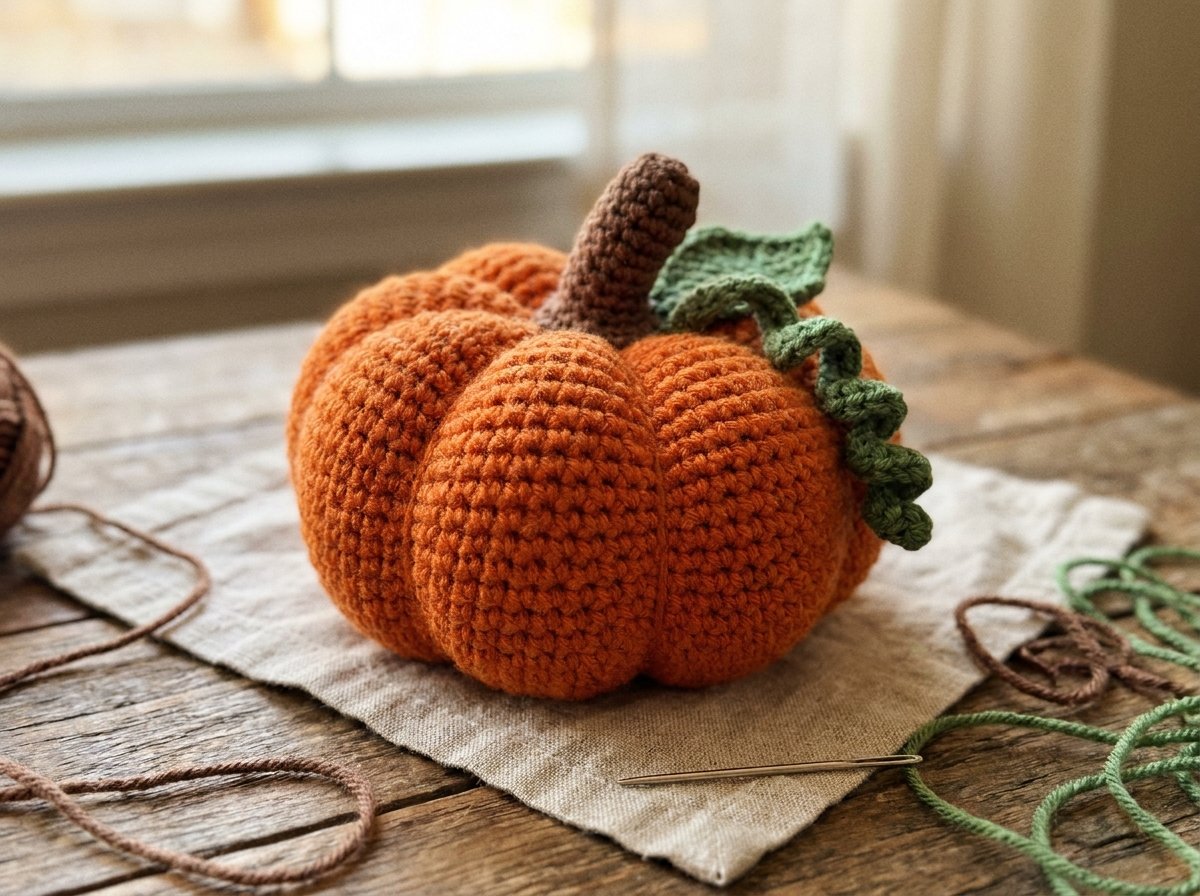
Step 9: Shape the pumpkin segments
This is the step that turns a ball into a pumpkin.
- Push the needle straight down through the center of the top and out the center of the bottom.
- Bring the yarn up around the outside of the pumpkin, lining it up with one of the ribs.
- Go back down through the top center again and pull until the yarn sinks into the pumpkin and creates an indent.
- Turn the pumpkin a little and repeat. Make 5 or 6 wraps, spaced evenly, for classic segments.
- Pull each wrap with the same tension so the segments look even, then knot the yarn at the top and hide the end inside.
Press down gently on the top while you pull — it gives your pumpkin that slightly flattened, sitting-on-the-porch look.
How to make mini, medium and large pumpkins
The rectangle method scales easily. The chain sets the height; the length of the rectangle sets how fat the pumpkin is. Here are starting points for a whole pumpkin patch:
| Size | Yarn & hook | Chain | Rectangle length | Approx. time |
|---|---|---|---|---|
| Mini | Worsted (#4), 4.5 mm | Ch 13 (12 sc) | About 6 in | 20–30 min |
| Medium | Worsted (#4), 5.0 mm | Ch 21 (20 sc) | About 10 in | 45–75 min |
| Large | Bulky (#5), 6.5 mm | Ch 21 (20 sc) | About 14 in | 1.5–2 hrs |
| Jumbo | Super bulky (#6), 9 mm | Ch 21 (20 sc) | About 18–20 in | 2–3 hrs |
Want a taller, more upright pumpkin? Add more chains at the start. Want a flatter, wider one? Keep the chain the same and make the rectangle longer. Times are rough estimates for a confident beginner — your first one will take longer, and that’s completely normal.
How to crochet a pumpkin stem and leaf
Easy rolled stem
- With brown yarn, chain 6.
- Half double crochet (hdc) in the 3rd chain from the hook and in each remaining chain (4 hdc). New to this stitch? Here’s our half double crochet tutorial.
- Fasten off, leaving a 10-inch tail.
- Roll the strip up tightly from one short end like a tiny cinnamon roll, and stitch through the layers a few times to hold it.
- Use the tail to sew the stem to the top center of the pumpkin, going through the dip where all the wraps meet.
No-crochet option: glue a short cinnamon stick or a real dried pumpkin stem into the top. It smells lovely and looks very “farmers’ market.”
Simple leaf
- With green yarn, chain 7.
- Working into the chains, starting in the 2nd chain from the hook: 1 sc, 1 hdc, 1 dc, 1 dc, 1 hdc, slip stitch in the last chain.
- Fasten off and sew the flat end next to the stem.
For a curly vine, chain 15–20 with green yarn, then work 2–3 sc in each chain. The extra stitches make the chain twist into a spiral on its own.
How to crochet a pumpkin in the round
If you’ve tried amigurumi before, you might prefer a seamless pumpkin worked in spirals. It’s smoother, with no side seam, but you’ll need a magic ring and increases. Use worsted yarn, a 4.0 mm hook and a stitch marker in the first stitch of each round.
- Round 1: 6 sc in a magic ring (6)
- Round 2: 2 sc in each stitch (12)
- Round 3: *sc 1, 2 sc in next* repeat 6 times (18)
- Round 4: *sc 2, 2 sc in next* repeat 6 times (24)
- Round 5: *sc 3, 2 sc in next* repeat 6 times (30)
- Rounds 6–10: sc in each stitch around (30)
- Round 11: *sc 3, sc2tog* repeat 6 times (24)
- Round 12: *sc 2, sc2tog* repeat 6 times (18). Start stuffing now.
- Round 13: *sc 1, sc2tog* repeat 6 times (12). Finish stuffing.
- Round 14: sc2tog 6 times (6). Fasten off and close the hole.
Then shape the segments exactly as in Step 9 above, and add a stem and leaf. Because there are no back-loop ribs, the yarn wraps do all the shaping, so pull them a little firmer.
Common mistakes and how to fix them
My rectangle is getting narrower (or wider)
You’re losing or adding stitches at the edges. The turning chain doesn’t count as a stitch here, so your first sc goes into the very first stitch of the row. Count to 20 every few rows, or place a stitch marker in the last stitch so you don’t skip it. If the edges also start to curve, our guide on why crochet curls covers the usual tension causes.
I can’t see the ribs
Double-check you’re working into the back loop on every row, not just alternate rows. Darker or fuzzy yarn also hides texture — try a lighter, smoother yarn.
The stuffing shows through
Your stitches are too open. Go down a hook size, or stuff a little less. A thin layer of matching-colored fabric or felt inside, under the fiberfill, also hides it.
There’s a hole at the top or bottom
The gathering stitch skipped some rows. Go around the edge a second time, catching any loose row ends, and pull again. A couple of stitches across the center locks it.
My segments are uneven
Wrap along the existing ribs rather than guessing, and divide the pumpkin by eye into halves first, then quarters, then add the extra wraps between them. Tug each wrap with the same pressure before knotting.
The pumpkin won’t sit flat
Press the bottom center inward while you tighten the wraps, or tuck a flat glass bead or a few dried beans in a small bag into the bottom before stuffing for weight. (Skip the beans if the pumpkin will be near small children or pets.)
Ways to style and gift your pumpkins
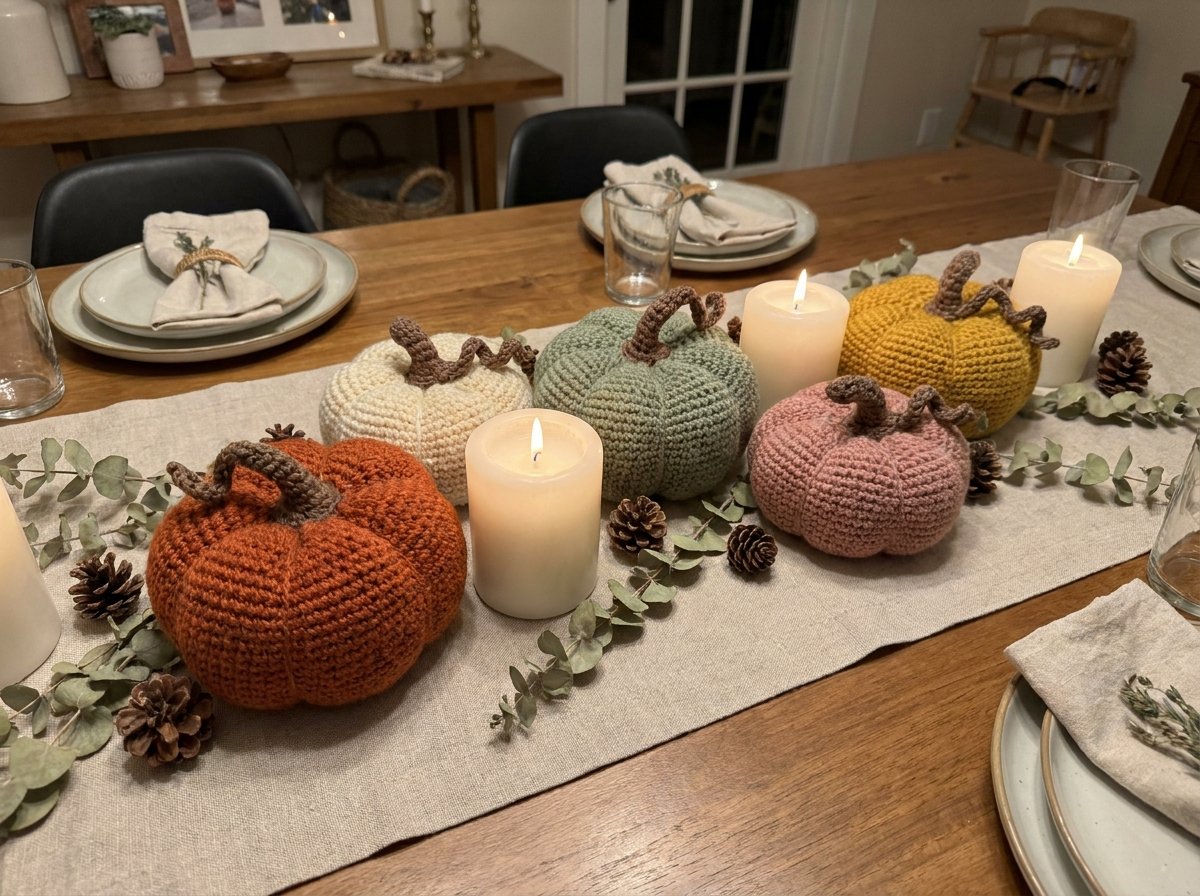
- Thanksgiving table: scatter minis down the center of the table between candles, or add a small kraft tag to each one as a place card.
- Mantel or shelf: group three sizes in a neutral palette (cream, oatmeal, sage) with dried eucalyptus.
- Tiered tray: pair pumpkins with mini books, pinecones and a candle for a cozy fall vignette.
- Hostess gift: a trio of pumpkins in a small basket is a thoughtful thank-you when you’re invited for dinner. For more last-minute ideas, see our list of quick crochet gifts you can make in one evening.
- Classroom or office treat: minis make sweet desk decorations for teachers and coworkers.
- Christmas swap: make them in red, white and green, or in metallic yarn, and they become ornaments and filler for gift baskets.
Pumpkins are also one of the best “next step” projects after a dishcloth or scarf. If you want more beginner wins, browse our 15 easy crochet projects for beginners, and when you’re ready for printable, tested patterns, you’ll find them in the Yarvella pattern shop.
Crochet pumpkin FAQ
Can a complete beginner crochet a pumpkin?
Yes. The rectangle method only uses chains, single crochet and slip stitches worked in rows, which are usually the first stitches people learn. The only new idea is working into the back loop, and that’s easy to pick up after a row or two.
What size hook do I need for a crochet pumpkin?
For worsted weight (#4) yarn, a 5.0 mm (H-8) hook works well for the rectangle method, or 4.0–4.5 mm for a firmer, in-the-round pumpkin. For bulky yarn use around 6.5 mm, and for super bulky use 8–9 mm.
How much yarn does a crochet pumpkin take?
A medium pumpkin in worsted weight yarn uses roughly 30–40 yards, plus a few yards for the stem and leaf. A mini needs about half that. One standard skein can make a whole little pumpkin patch.
How long does it take to crochet a pumpkin?
A mini takes about 20–30 minutes and a medium about 45–75 minutes once you’re comfortable. Jumbo pumpkins in super bulky yarn can take two to three hours. Your first one will take longer while you learn the gathering and shaping steps.
What do you stuff crochet pumpkins with?
Polyester fiberfill is the standard choice because it’s light, washable and doesn’t clump. Yarn scraps also work and are a nice way to use up leftovers, though they make the pumpkin a little heavier.
How do you make the lines on a crochet pumpkin?
There are two kinds of lines. The fine vertical ribs come from working single crochet in the back loops only. The deep segment indents come from wrapping yarn from the top center to the bottom center 5–6 times and pulling it tight.
Can I use velvet or chenille yarn for pumpkins?
Yes, and it gives a lovely plush look. Because the stitches are hard to see, count carefully, use a stitch marker at the end of each row, and use a slightly smaller hook than you’d expect so the stuffing doesn’t show.
Can you wash crochet pumpkins?
Acrylic and cotton pumpkins stuffed with polyester fiberfill can usually be hand washed in cool water and air dried. Skip washing if you added a glued-on cinnamon stick or a real stem.
Your first pumpkin patch starts with one rectangle
Chain, single crochet into the back loops, roll it, cinch it, stuff it, wrap it — that’s the whole secret. Make one this week, and you’ll understand why crocheters end up with a basketful by Thanksgiving. Try a mini in cream next, then a chunky orange one for the porch, and mix the sizes on your table.
If you make one, give it a little personality: a twisted vine, two-tone stripes, or a velvet yarn version for the holidays. Happy hooking!
Keep making
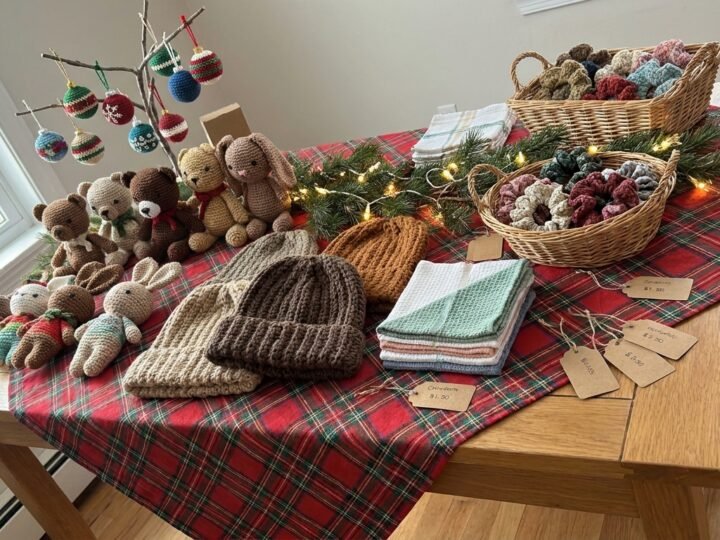
Crochet Items That Sell: 25+ Best Sellers for Craft Fairs & Christmas
The crochet items that sell best at craft fairs and online: amigurumi, beanies, ornaments, dishcloths and more, plus pricing tips and a holiday…
Read the guide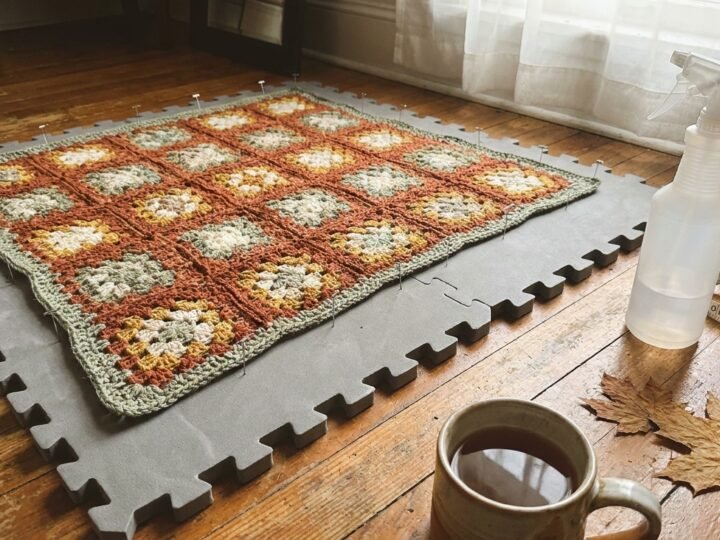
How to Block Crochet: Wet, Spray & Steam Blocking for Any Yarn
Learn how to block crochet the right way for wool, cotton and acrylic: step-by-step wet, spray and steam blocking, tools, drying times and…
Read the guide