
How to Crochet for Beginners: A Step-by-Step First Lesson
Learn how to crochet step by step: hold the hook, make a slip knot, chain and work single crochet rows. A beginner lesson with a small kit list and fixes for common mistakes.
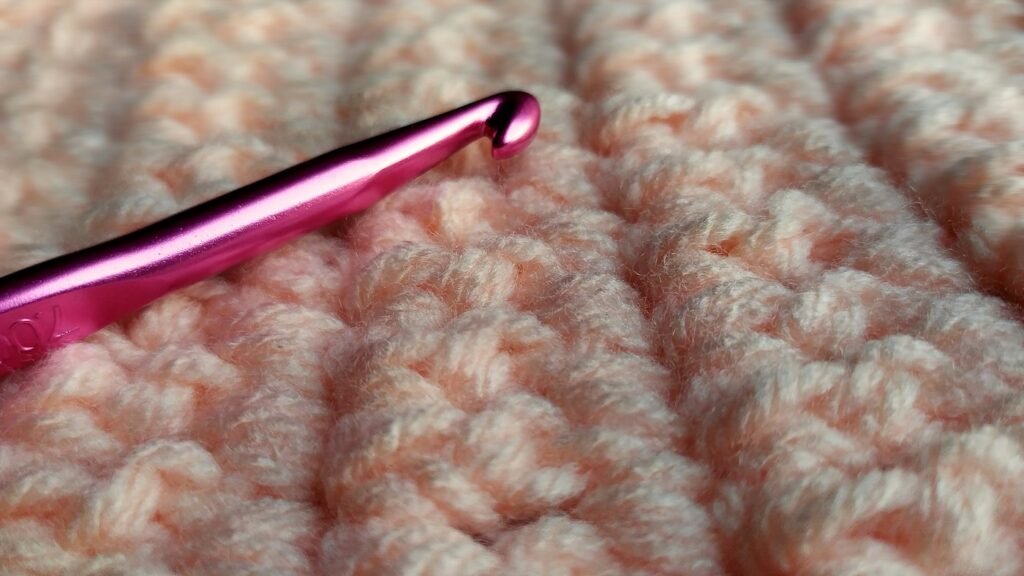
Illustrative crochet photograph by Karina L via Unsplash. This is not a photograph of a Yarvella-tested sample.
Your first crochet kit can fit in a small pouch. You do not need a collection of hooks or an ambitious blanket to begin. Start with yarn you can see clearly, a comfortable hook and a little room to practise.
Build a small, useful crochet kit
- Smooth, light-colored yarn: a medium-weight cotton or acrylic makes individual loops easier to see. Save fuzzy and very dark yarns for later.
- One hook: begin with the size recommended on your yarn label. A comfortable handle matters more than a large set.
- Two stitch markers: use these to identify the first and last stitches.
- Scissors and a blunt yarn needle: for trimming yarn and weaving in tails.
- A ruler: measure your practice swatch instead of judging its size from a photograph.
How to crochet for beginners, step by step
Work through these six steps in order with your practice yarn. Each one builds on the last, and together they make your first small swatch.
Step 1: Hold the hook and yarn
Hold the hook in your dominant hand, like a pencil or like a knife, whichever feels steadier. Drape the working yarn (the end that runs to the ball) over the index finger of your other hand and let it run loosely through your fingers. That hand controls the tension; the hook hand does the moving.
Step 2: Make a slip knot
Make a loop in the yarn about 15 cm from the end, with the tail behind the loop. Reach through the loop, pull up a little of the working yarn to form a new loop and place it on your hook. Pull the tail gently to snug the knot, leaving it loose enough to slide along the hook.
Step 3: Make a chain
Wrap the working yarn over the hook from back to front. This move is called a yarn over. Pull it through the loop on your hook: that is one chain. Repeat until you have 13 chains. Aim for chains that look similar in size; tight chains make the first row harder to work.
Step 4: Work your first single crochet
Skip the chain closest to the hook and insert the hook into the second chain. Yarn over and pull up a loop, so you have two loops on the hook. Yarn over again and pull through both loops. That is one single crochet. Work one single crochet into each remaining chain: 12 stitches.
Step 5: Turn and work the next row
Chain one and turn your work so the last stitch you made is now the first. The turning chain is not a stitch in this exercise. At the top of each stitch you will see a small V. Insert your hook under both loops of that V and work one single crochet into each stitch across: 12 stitches again. Working through only one loop changes the texture, so save that for when a pattern asks for it.
Step 6: Count every row, then fasten off
Mark the first and last real stitches, then count across after each row. Counting is the quickest way to notice an accidental increase or a missed edge stitch before it becomes several rows of extra work. Repeat step 5 until the swatch feels comfortable to hold. To finish, cut the yarn leaving a 15 cm tail, pull the tail through the loop on your hook and weave it in with a blunt needle.
You can unravel this practice piece and reuse the yarn. Its job is to teach your hands the movement, not to become a perfect finished object.
When something looks wrong
- The hook struggles to enter: loosen your grip and remake the foundation chain more gently.
- The piece gets narrower: check whether you missed the final stitch.
- The edge gets wider: check whether you worked into the turning chain by mistake.
- Your hands ache: pause and change your grip. Do not push through discomfort.
Where can I find free crochet patterns?
Start with a pattern that clearly states the materials, terminology, gauge when relevant, finished measurements and full instructions. On Yarvella Crochet, our cotton dishcloth, classic granny square and simple scarf offer accessible next steps. These are web guides; a downloadable PDF is available only when a page explicitly provides one.
Free does not mean permission to copy or resell someone else’s written pattern or photographs. Read the designer’s terms if you plan to redistribute a pattern, and check any stated conditions before using their assets.
Your next handmade moment
Follow the single crochet guide, then try our simple cotton dishcloth. A small rectangle lets you practise the same useful skills without needing to learn shaping straight away.
Our guides use US stitch names. Check a pattern’s terminology before starting: the same stitch may have a different name in a UK pattern.
Terminology reference: Craft Yarn Council.
Keep making
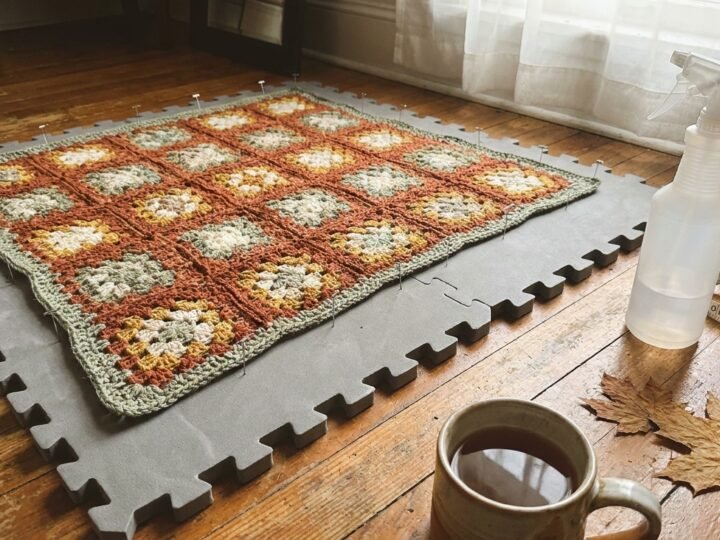
How to Block Crochet: Wet, Spray & Steam Blocking for Any Yarn
Learn how to block crochet the right way for wool, cotton and acrylic: step-by-step wet, spray and steam blocking, tools, drying times and…
Read the guide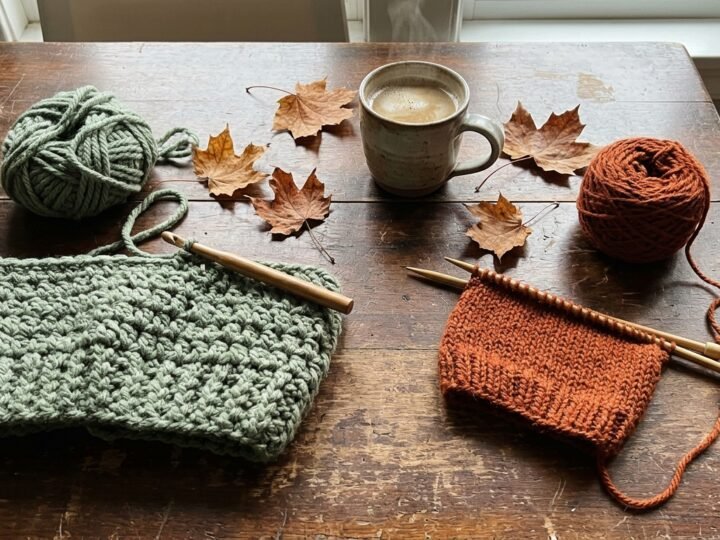
Knitting vs Crochet: Which Is Easier, Faster and Better for You?
Knitting vs crochet compared: which is easier to learn, faster, uses less yarn, and suits blankets, sweaters and gifts, plus a 20-minute crochet…
Read the guide